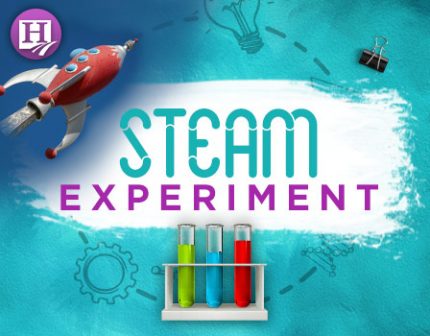
Try this fun Homeschool Science Experiment: Borax Crystals in 4 Easy Steps
My kids love hands-on science experiments, and I love to use their creations to decorate my home! I think showing off what they are learning is important to their self-esteem, so I try to do this as often as I can. I love this experiment for that reason because borax crystals are a science experiment that you can use to decorate your home! The fact that this experiment can be completed in 4 easy steps makes it a homeschool mom’s dream!
This experiment does require adult supervision because boiling water is one of the supplies you will need to complete it. Have fun experimenting!
Supply List
Pipe cleaners
String
Borax (found in the cleaning aisle)
Boiling Water
Tablespoon
Pot
Jar(s) (Pint Size or Larger)
Pencil
Cookie Cutters (optional)
Step One: Using pipe cleaners mold the shapes you want to create with crystals. You can use cookie cutters and mold the shapes by bending the pipe cleaners around the outside of them. Tie one end of the string to the shape and the other end to the pencil.
Step Two: Lay the pencil across the top of the jar and allow your pipe cleaner shape to hang into it. Ensure that the shape hangs freely without touching the sides or bottom of the jar. Remove the shape before moving onto step three.

Step Three: Using the ratio of 3 Tablespoons of Borax to 1 Cup of boiling water, add the two ingredients to your jar and stir. Place the pencil and shape back in the jar. Rotate the pencil as needed to keep your shape from touching the sides or bottom of the jar.
Step Four: Set the jar somewhere it won’t be bothered overnight. In the morning remove your shape from the jar and decorate your home with your crystal shapes!
More Homeschool Science Fun
Simple Home Science Experiments
Teaching Homeschool Science and Labs
Latest Posts


Guest Post by Gabriel Morse For several years, I sat for long hours every day behind one of those battleship gray desks in a windowless, dull, gray office. The pay was enough to take care…
Read more >

This post is sponsored by Little Monsters Universe. I'm Tina Salmanowitz, an advocate for homeschooling and science education. With over a decade of experience as a science educator (in class…
Read more >
This post is sponsored by Time4Learning. Before the pandemic, it was business as usual for Boca Raton resident Nikki Warris. Her two daughters, 5-year-old Natalie and 8-year-old Lexi were…
Read more >